The Kansas City Central is a 4 by 8 HO gauge model railroad layout to be given
away at the National Train Show in July, 1998. The builders of the layout are
the Kansas City Society of Model Engineers. These photos show the progress
of the layout, built at Destination Train Store, in Lenexa, Kansas. The layout
is sponsored by Bachmann and Destination
Train Center, and featured in the July 1998 issue of Model
Railroader.
Jump to the NMRA Home Page or
Return to the Turkey Creek
Home Page or Return to the
Photo page.
Links to more pictures. Those on this page are through May 9, 1998. Go to page
5 for the final pictures, from the National Train Show.
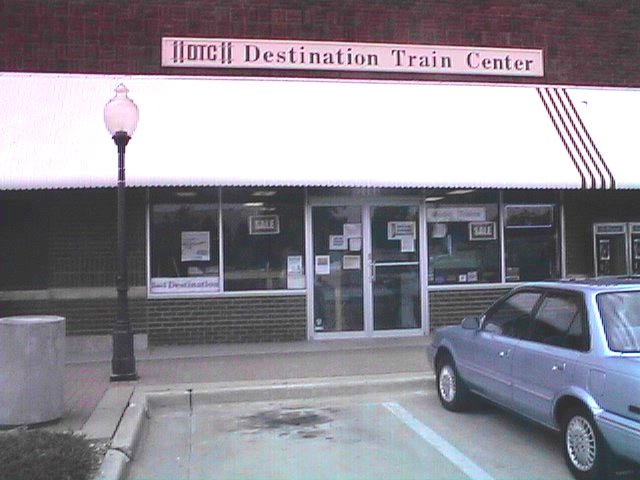
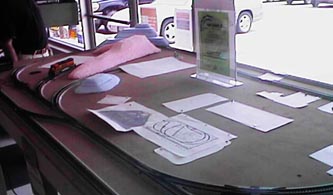
The Layout was built at Destination Train Center in old Town Lenexa, Kansas.
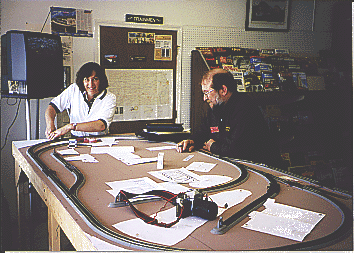 On
Saturday April 25, we started mapping out exactly where the buildings, roads
and hills would go. We used paper templates for marking the locations so we could
remove them for off site work. The building templates were made from the kits
as they were opened. Each club member has a building to put together, but we
made sure we had the building templates before they took the buildings home to
work on them. Some buildings
will be put together before the National Train Show.
On
Saturday April 25, we started mapping out exactly where the buildings, roads
and hills would go. We used paper templates for marking the locations so we could
remove them for off site work. The building templates were made from the kits
as they were opened. Each club member has a building to put together, but we
made sure we had the building templates before they took the buildings home to
work on them. Some buildings
will be put together before the National Train Show.
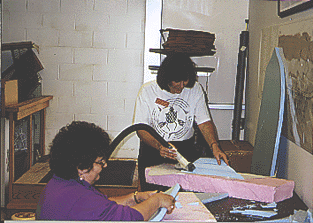
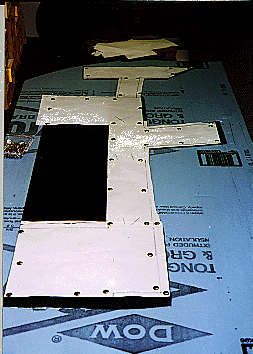
We used insulation foam as the base for the hills. There are lots of ways
to support hills, but we like this one. Cutting the foam was made easier
by combining a vacuum with a forming rasp tool. As you cut and shape, the
vacuum picks up the foam shreds. Neat and quick.
With forms for the hills made, we glued them in place. Nails were used
to keep layers aligned. You can pull the nails out after the glue sets. Remember
to remove the thin layer of plastic from the foam before gluing. Insulation
board often has an almost invisible layer of plastic as a vapor barrier. If
you leave it on, the glue won't stick to the foam and it will all come apart.
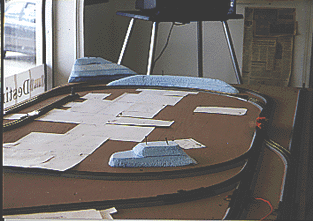
 On Saturday,
May 9, we added the plaster over the foam hill forms. This is before the work
started. The pink foam is one thick piece, and the blue foam is in multiple layers.
We used what was available; it doesn't usually matter what kind of foam you use.
The blue
foam is easier to cut. It's actually called Dow Styrofoam.
On Saturday,
May 9, we added the plaster over the foam hill forms. This is before the work
started. The pink foam is one thick piece, and the blue foam is in multiple layers.
We used what was available; it doesn't usually matter what kind of foam you use.
The blue
foam is easier to cut. It's actually called Dow Styrofoam.
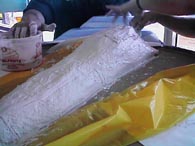
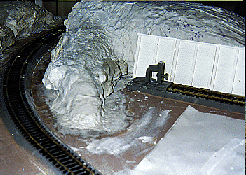
This is the pink hill, covered with plaster. We covered it because the
surface of the foam was too rough, and to smooth the transition between the table
top
and the sides of the hill. The covering was paper
towels coated with plaster.
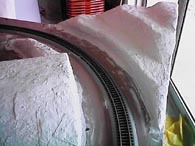
This deep cut runs behind the pink hill (now covered with plaster) and
the hill in the corner. Due to the steep sides, this needs to be a rock cut.
Later, we will add rock castings here and use plaster to fit them to the underlying
terrain.
At the other corner, two club members apply plaster coated paper towel to a hill.
This hill has an overhang, about 1 inch high.
We will fit pieces of broken ceiling tile in here to simulate limestone.

Here are the two layers of ceiling tile. The edge was broken by hand to be as
rough as possible. After painting white, these will be painted to look like limestone
and fitted into place under the
overhang.
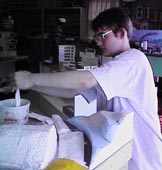
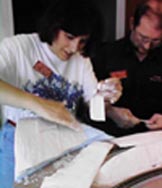
We had some assistance from visitors. Here is John H., who was at the store and
gave us a hand.

After the plaster covering was set, we put on the rock castings. This was done
on Saturday May 16. Plaster was used to "glue" the rock castings in place, and
to fill in the gaps behind the castings. We cut the castings with various tools
to make them fit the area, then mixed up a small batch of plaster to put them
on the hills. Only the steepest hills need rocks. More gradual slopes will be
covered with grass and dirt.
This shows a plaster retaining wall we purchased and cut to fit. There wasn't
enough room to put a rock casting in here. The wall will be covered with aluminum
foil during the remaining plaster and paint process, to protect it. It gets painted
by itself, then fixed
in place.
This is the paved street. The roofing felt was cut to the paper template. The
final cutting will take place after the nearby plaster and paint on the layout
is done.
Jump to the NMRA Home Page or Return
to the Turkey Creek
Home Page or Return to the
Photo page.